Projector control: an update
By the end of the previous post, I had decided that the reliability of a direct serial line to the projector wasn’t worth the cost of a MAX232 chip over some IR diodes, so I ordered the latter. I anticipated the process of extracting the IR codes from the remote and replicating them would be difficult, lengthy, and finnicky, but it was actually pretty easy.
Hardware
My final working build uses these components:
220Ω resistor between Photon’s VIN pin and the IR emitter’s cathode
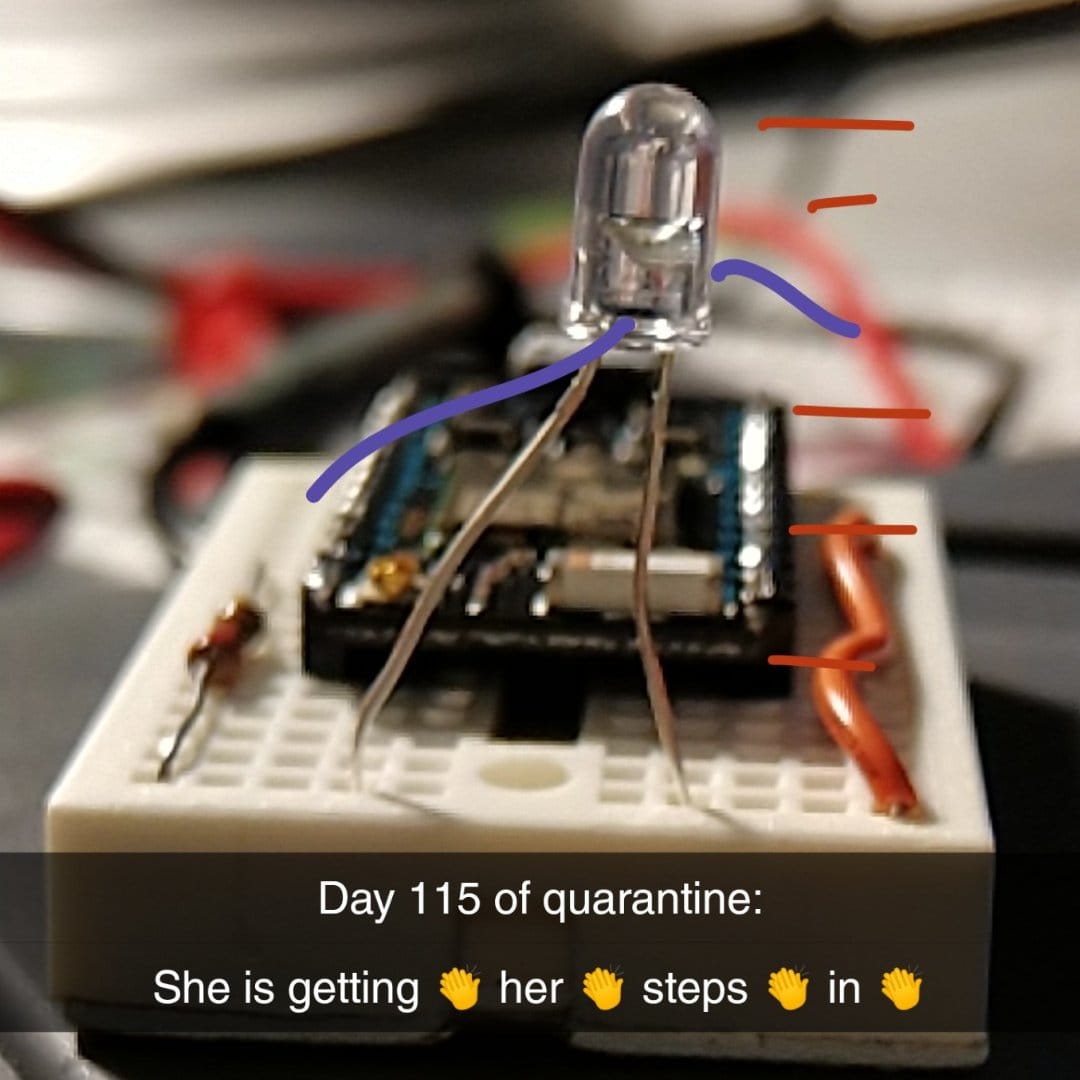
For recording the IR codes from the remote, I used a receiver diode connected to an Arduino Uno with the following configuration:
| Receiver Diode | Arduino |
|---|---|
| + Cathode | 5V out |
| Signal | Pin 11 |
| − Anode | GND |
Then I flashed the IRrecvDump example from Ken Shirriff’s IRremote library to the Arduino Uno, pointed my projector’s old remote at the receiver, and pressed every single button, noting the hex code output to the serial console. It also printed “Decoded NEC” each time, indicating Sanyo chose to use NEC’s IR protocol, which is important to know when sending these codes to the projector later.
I ended up with the following code table:
| Remote button | Code |
|---|---|
| Power | 0xCC0000FF |
| Computer input | 0xCC001CE3 |
| Video input | 0xCC00A05F |
| Menu | 0xCC0038C7 |
| Left arrow | 0xCC007887 |
| Right arrow | 0xCC00B847 |
| Up arrow | 0xCC0031CE |
| Down arrow | 0xCC00B14E |
| Select/OK/enter | 0xCC00F00F |
| Digital zoom Up | 0xCC00807F |
| Digital zoom Down | 0xCC0040BF |
| Page up | 0xCC009A65 |
| Page down | 0xCC005AA5 |
| Keystone | 0xCC00DA25 |
| No show | 0xCC00D12E |
| Auto PC adjust | 0xCC00916E |
| Power-off timer | 0xCC0051AE |
| Image settings | 0xCC0030CF |
| Freeze | 0xCC00C23D |
| Mute | 0xCC00D02F |
And any time I held a button, it sent 0xFFFFFFFF. I saw an “NEC repeat code” referenced in the IRremote documentation, so I’m assuming that’s what it is. I included it in my final project code, but it is never actually sent, and I have not needed it so far.
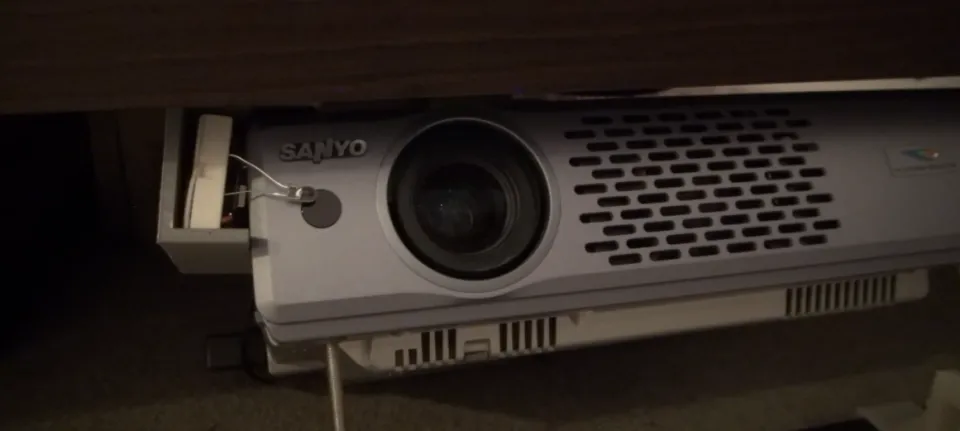
When I was done recording the codes, I assembled a second breadboard for “production” use where I had just a Particle Photon, an IR emitter diode, and a resistor between A5 on the board and the diode to protect the diode. I then strapped this to the side of my projector so the emitter sat in front of the projector’s IR receiver.
Backend
Speaking of project code, below is the full code I flashed to the Particle Photon (with the MQTT server and credentials emptied, of course).
It hosts a web interface and API for manual control over the network, but it also connects to an MQTT server for control by home automation software.
And the libraries included in it:
Frontend
For fun, I designed the web interface it hosts to look exactly like the original remote:
Hopefully, your browser has rendered the HTML document beautifully above. The HTML document behind this isn’t as pretty as the result, (especially when represented as a string in the C++ source code) but you can download it as a formatted HTML file if you wish:
Clicking a button on that preview will not do anything, but when hosted from the board, it will make an HTTP POST request to the board that contains the form data key button and a numeric value. The getCommand function parses this value and maps it to an IR code for transmitting to the projector.
Sure, a web UI is fun, but it’s not very convenient. Navigating to the page in a browser isn’t as fast as picking up the remote off the table. This is where the MQTT functionality comes in.
In Home Assistant, which is connected to the same MQTT broker as the projector control, I created two scripts: one to turn the projector on by “pressing” the power button, and the other to turn it off by “pressing” the power button twice (once to open the “are you sure?” dialog, and again to confirm).
script:
  ...
  projector_on:
    alias: Projector on
    icon: mdi:projector
    mode: single
    sequence:
    - service: mqtt.publish
      data:
        topic: projector/cmd
        payload: 1
  projector_off:
    alias: Projector off
    icon: mdi:projector
    mode: single
    sequence:
    - service: mqtt.publish
      data:
        topic: projector/cmd
        payload: 1
    - service: mqtt.publish
      data:
        topic: projector/cmd
        payload: 1
configuration.yaml
Note here that I am just sending raw MQTT commands to the broker for the topic listened to by the board code (projector/cmd) with the command number (1) that maps to the power button. Once for on, twice for off.
Okay, now I can control it with a different web interface (Home Assistant). It’s still not that convenient. That’s where Google Assistant helps out. One more addition to my Home Assistant configuration:
google_assistant:
  ...
  script.projector_on:
    expose: true
  script.projector_off:
    expose: true
configuration.yaml
That makes the projector on and off scripts show up in my Google Home app, but I then created a routine for each action and added a step to call the correct “scene”. Now I can say, “Okay Google, projector on” and it will turn on the projector (and the lamp so I can turn off the overhead light).
Areas for improvement
- Using IR instead of serial means I don’t have a way to get the current status of the projector, only set it. This prevents idempotence; for example, I can’t send “power off” twice and assume the power is off. If it was already off, it will now be on.
- This would also be solved if there were separate “power off” and “power on” commands. There may be more IR codes recognized by the projector than there were buttons for on my remote, but I don’t have a way of discovering them. If the codes I knew about were closer together, I would iterate through the values and try more codes to see what happened.
Hopefully this helps anyone looking to automate a device with IR. Questions? Comments? Need help? Let me know below!
Comments ()